Automatic quality inspection of small transparent products
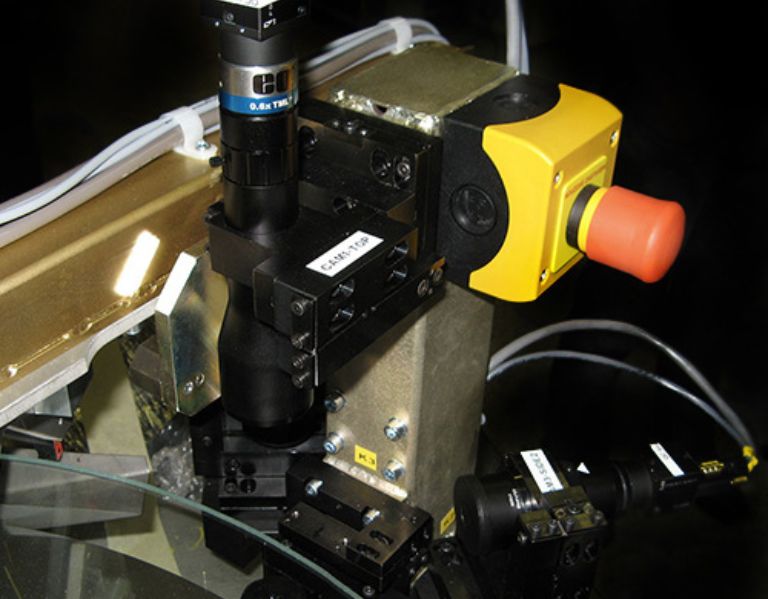
Camera systems designed to accurately measure small products with a high clock requirement of up to 10 pc./s.
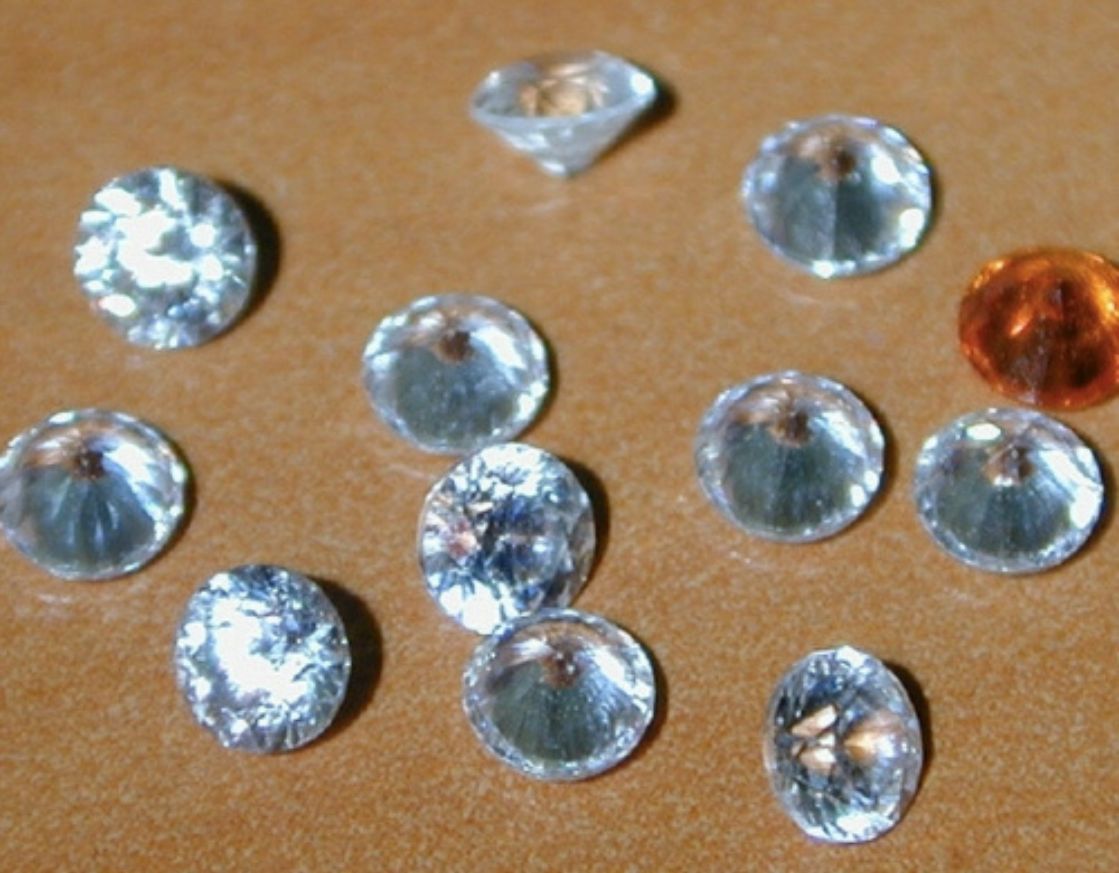
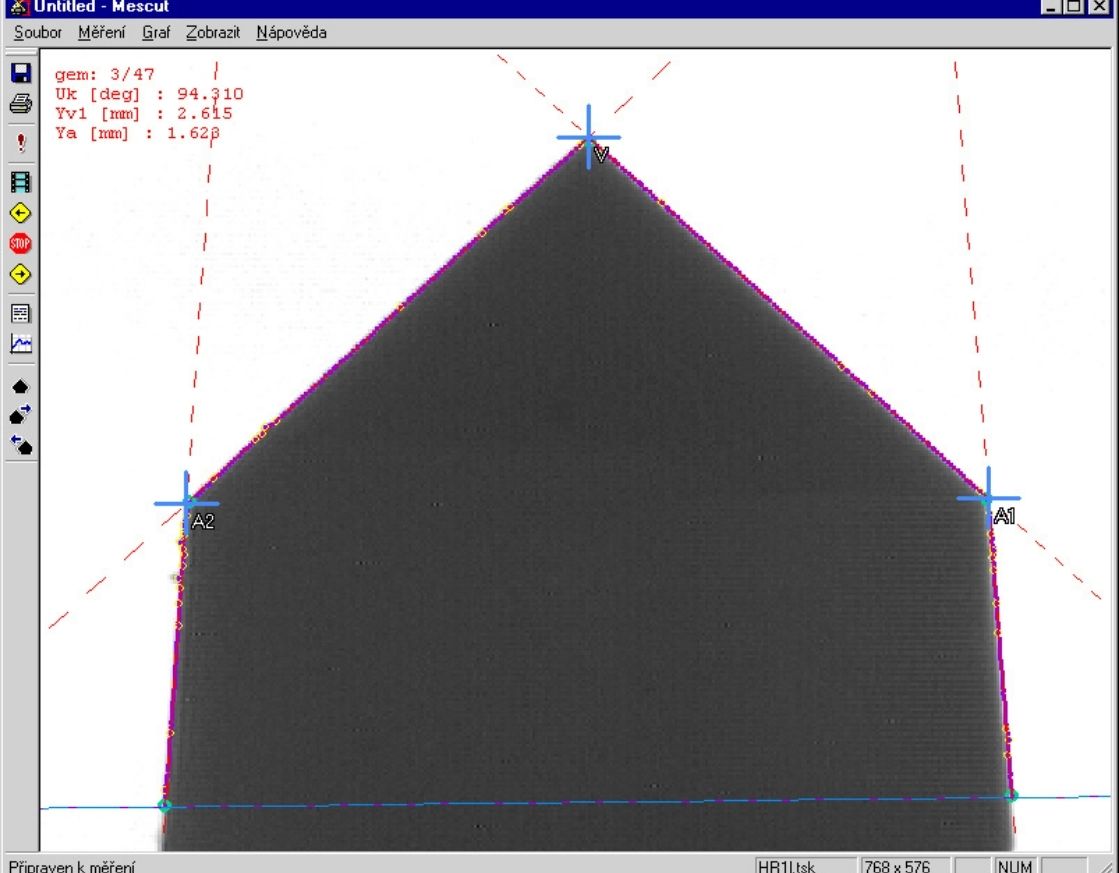
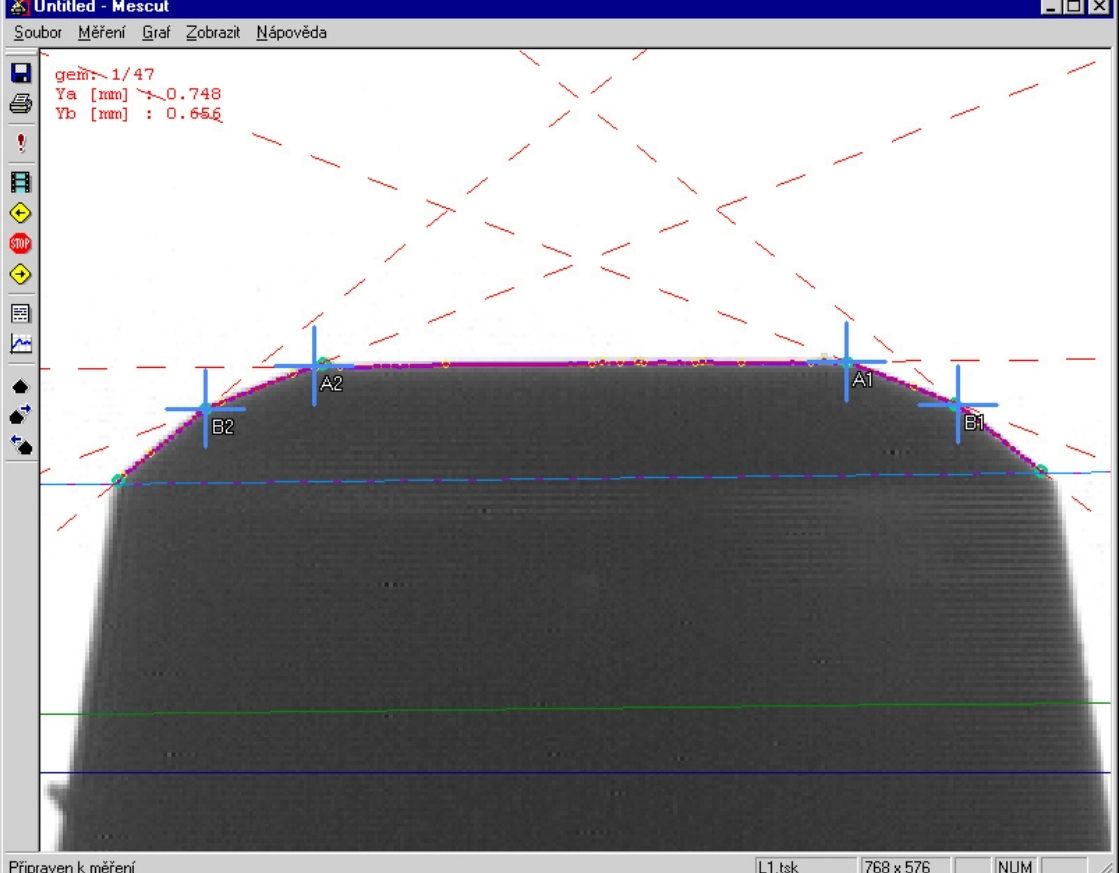
An example of use is checking the quality of machine-cut jewellery stones by accurately measuring their shape in backlight illumination. The principle of costume jewellery control machines are camera systems with rear and front illumination, where the contour of the object being measured is captured. On the basis of the data obtained, it is possible to reconstruct the external dimensions of products and the method of segmentation to simple geometric shapes (arcs and lines), to look for defects on the required geometries.
The solution includes SW equipment and a sophisticated set of calibration products. Thanks to a unique measurement and calibration method, measuring accuracy can be up to ± 0.005mm.
Furthermore, these systems can be advantageously used in the production of electronic components, small mechanical parts, etc. Let´s put your production under full automatic control together!
| Parameter | Value | Unit |
|---|---|---|
| Minimum product size | 1,5 | mm |
| Maximum product size | 30 | mm |
| Product temperature | 5 – 35 | °C |
| Measurement accuracy | ± 0,005 | mm |
| Measurement time | from 0,1 | s |
| Communication interface | Ethernet | – |
| Data archiving | Yes | – |
| Connection with the superior system of the production line possible | Yes | – |


