Inspection of glossy surfaces and bodywork
Measuring equipment for quality control of glossy surfaces by reflectometry.
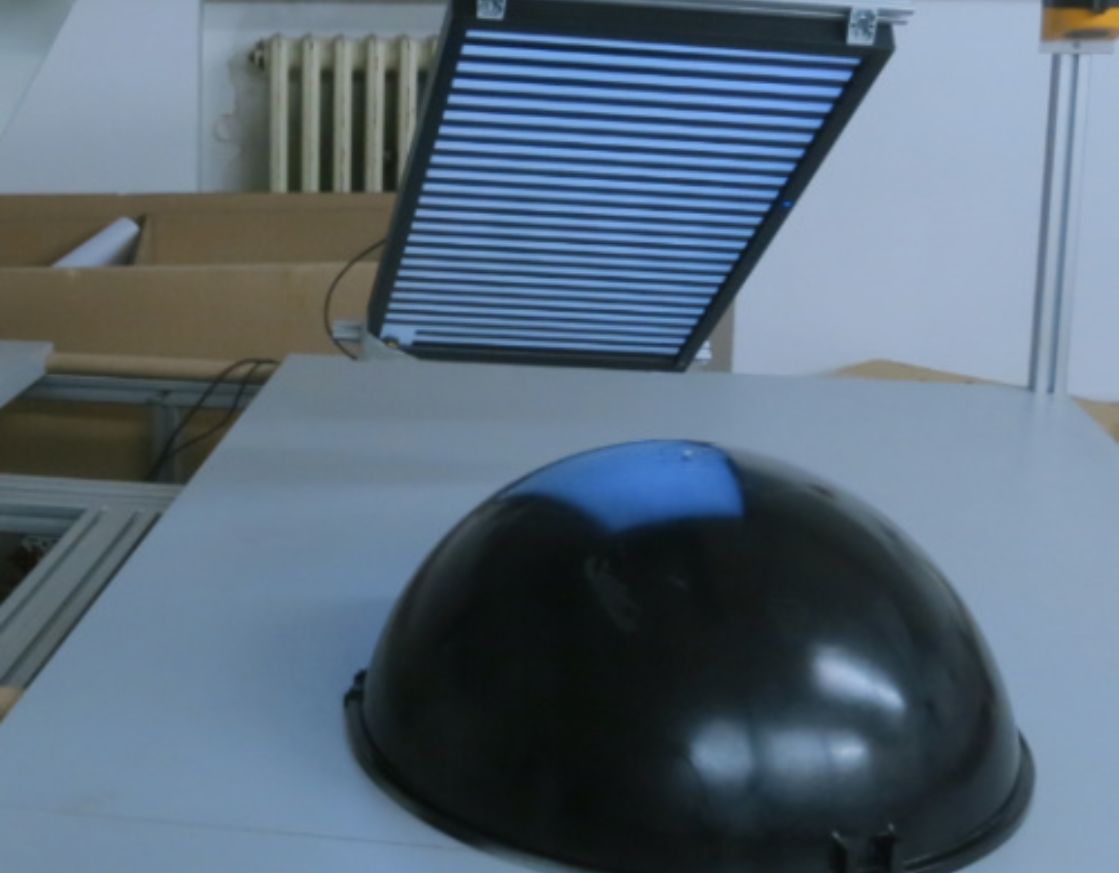
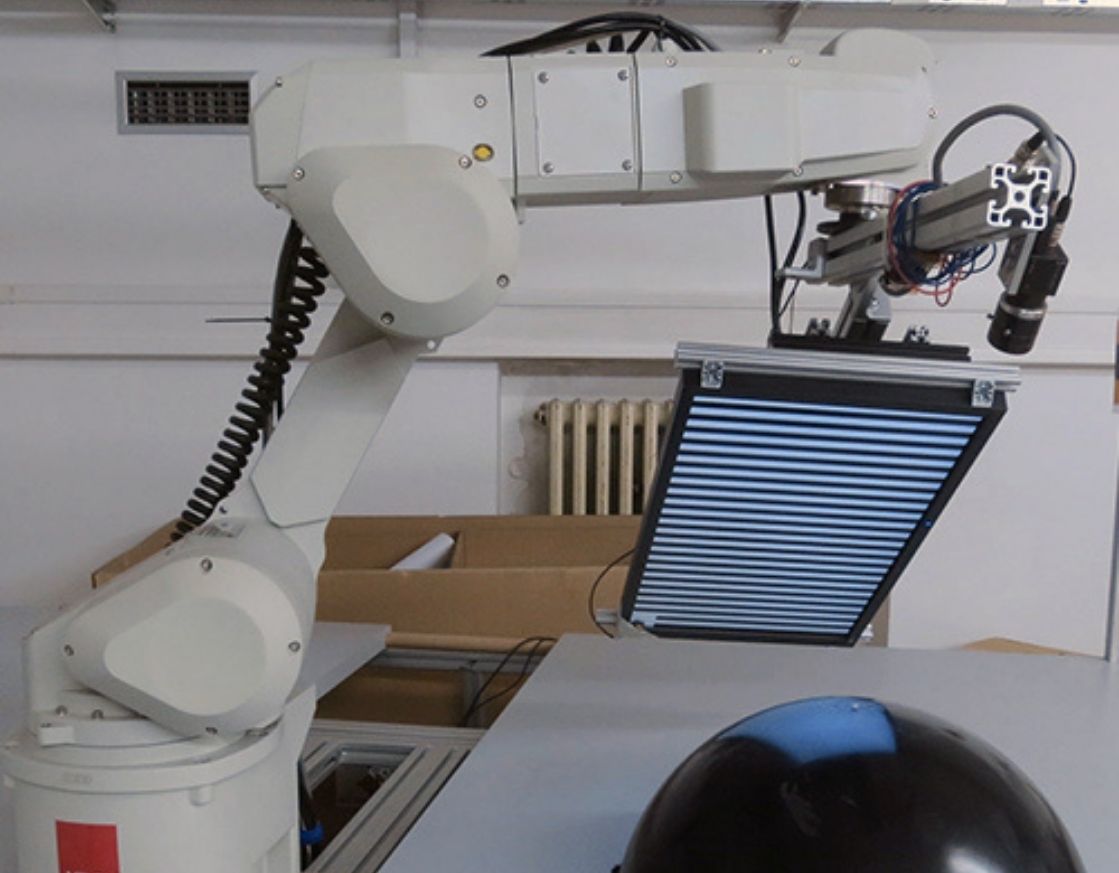
The measuring device consists of a camera and a projector. The surface is checked by looking at the reflection of a known pattern that is projected onto the checked surface. The overall shape of the surface can be checked, but minor surface defects can also be detected. An integral part of the device is software that allows automatic detection of the defects found and ensures communication with the superior system.
The data being scanned and evaluated is archived in order to allow a reverse check of the production quality. Upon the customer’s request, visual defects can be visualized on the 3D model of the product being inspected, making it easier for the operator to look for damaged areas.
The system is ready for autonomous work in stand-alone stations, and it is also possible to integrate the inspection into production lines using robotic arms.
It is suitable for checking individual body parts as well as entire cars. Typical uses are output checks on assembly lines in the automotive industry, or where the visual quality of lacquered and glossy products is crucial.
| Parameter | Value | Unit |
|---|---|---|
| The smallest size of the monitored area (one frame) | 15×15 | mm |
| The biggest size of the monitored area (one frame) | 250×250 | mm |
| Camera resolution | 1600×1200 | px |
| The smallest dimension of the detected defect | 0,2×0,2 | mm °C |
| Scanning velocity | < 1 | s |
| Ambient temperature | 5 – 35 | °C |
| Voltage | 24 | V |


